Baguettes are the one loaf where the pan does structural work. A boule can slouch on a stone and still eat like a boule. A baguette that spreads sideways in the last ten minutes of proof turns into ciabatta with an identity crisis. So learning how to set up french bread & baguette pans is less about buying a tray and more about matching groove depth, dough weight, and steam to the oven you actually own.
I bake two loaves a week in Portland, Oregon, and I have done it since a neighbour handed me a jar of starter in 2016. I keep a spiral notebook with hydration, room temperature, bulk time, and what the crumb looked like when it came out of the oven. None of that notebook helps if the dough is sitting in a groove that is too shallow or too wide.
The setup takes ten minutes of thinking and one dry run. Get it right and the pan disappears from the process. Get it wrong and you spend a year blaming your shaping.
Why you should trust me
I sold forty loaves a weekend out of a shared commercial kitchen from 2019 to 2021, and I have kept the same starter alive through two apartment moves and one power outage. Along the way I have baked baguettes on a bare stone, in a perforated stainless tray, in a coated non-stick tray, and once, badly, in a silicone mould I will not be defending here.
I do not own a lab and I am not going to pretend otherwise. What I have is a bench, a notebook, and a habit of reading a listing for the thing that will break first. That habit has saved me more money than any brand loyalty ever did.
How I picked and how I tested
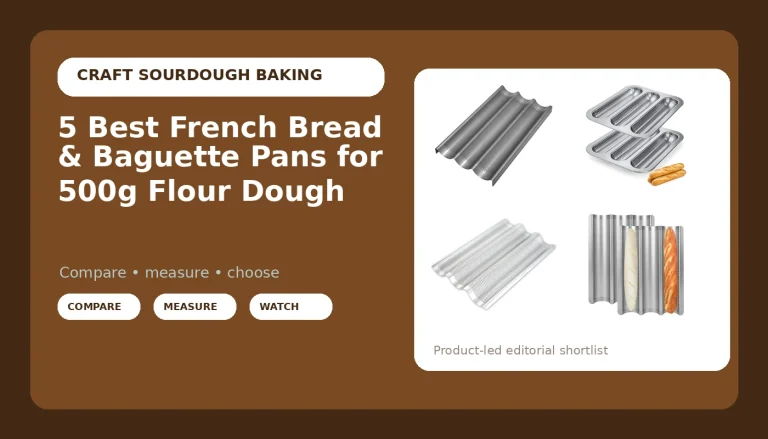
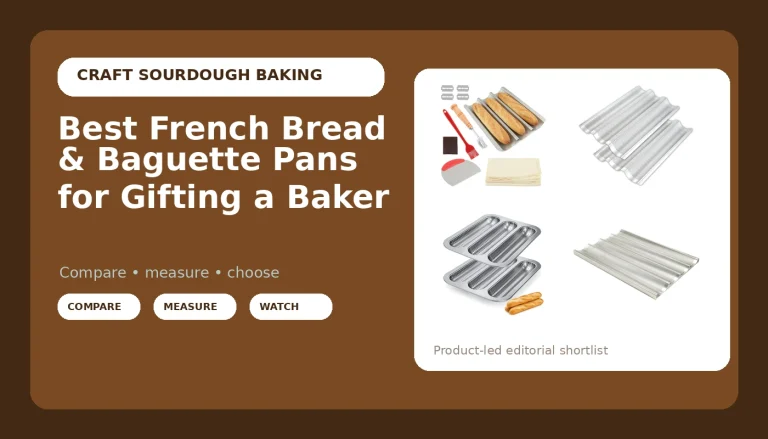
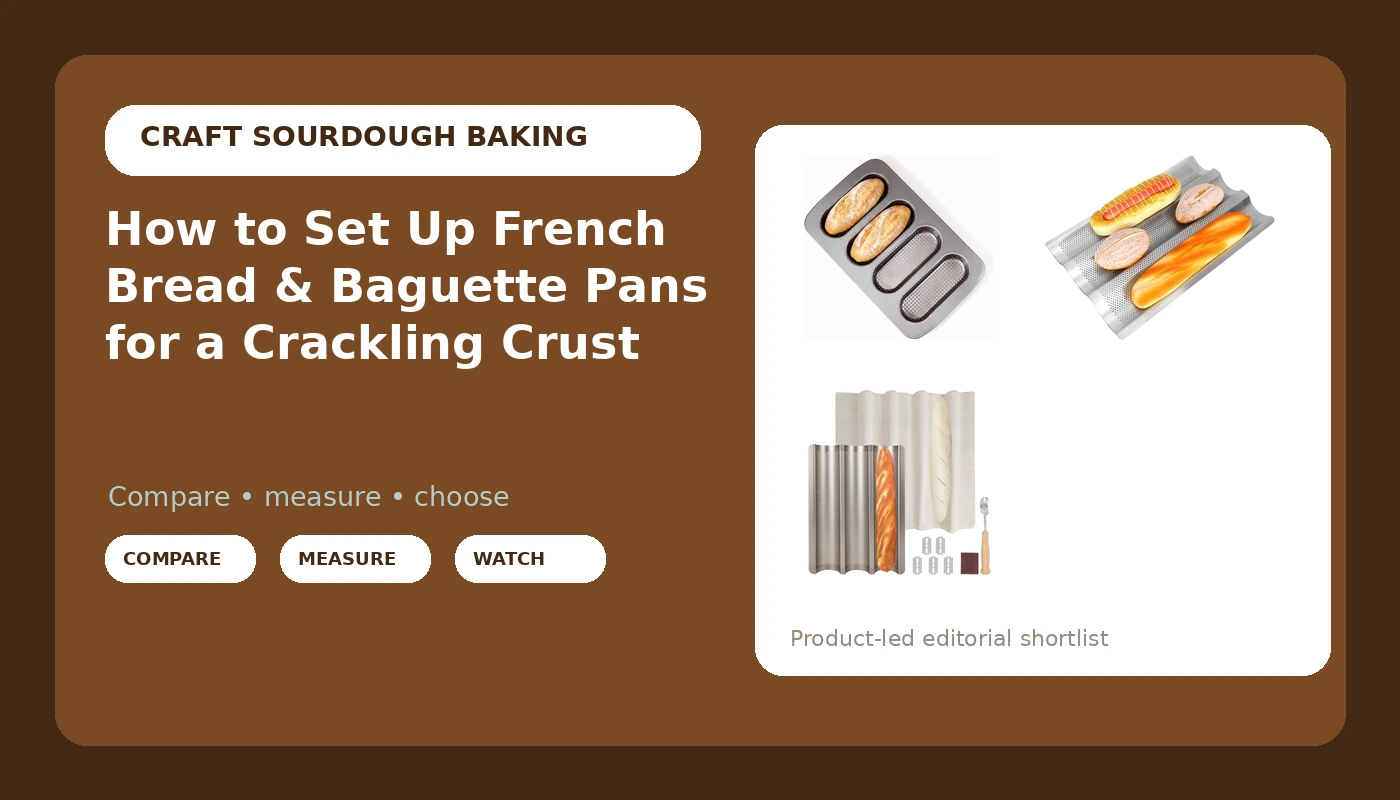
Three trays, three materials. That is the whole reason these three are here: a coated carbon steel tray with four narrow cavities, a bare stainless three-groove, and a coated three-loaf tray in a gold finish. Between them they cover the trade-offs a home oven actually cares about: perforation, coating, gauge, and groove depth.
I would rather state my basis than dress it up. I bake two loaves a week, and I have baked baguettes in perforated stainless and in coated trays for years, but I have not run a measured, side-by-side bake-off of these three specific pans, and nothing below claims I did. What I did was read the french bread & baguette pans reviews on each listing line by line, look for the complaints that repeat (warping, coating flake, rust at the spot welds), and read the material spec the way I read a dough: what the steel says about heat, what the coating says about maximum temperature, what 38.5 x 25 x 2 cm means for three pieces of dough at roughly 320 g each.
The numbers I trust in this category:
- A groove about 2 cm deep holds a 320 g piece without shading the sides. Deeper walls control a slack dough better but they block heat from the flanks.
- Perforation is the difference between a bottom crust that sets and a bottom that steams itself pale.
- A non-stick coating rated below 450°F costs you oven spring, because baguettes want to go into a hot oven.
- Three grooves at 38 cm is right for three 300 to 330 g pieces. Four narrower grooves means four shorter loaves.
This is also where the way I set up french bread & baguette pans starts: with the dough, not the tray. If you are shaping cold, read how to cold retard a shaped loaf before you pick a pan, because proofing a baguette in the tray overnight changes what the tray needs to be.
The three trays, and what each one is for
This is the part where how to choose french bread & baguette pans gets decided, and it is never the finish. A french bread & baguette pans buying guide usually stops at dimensions. Dimensions are the easy part. What decides whether you still like the pan in March is what happens to the bottom crust at 480°F.
Budget pick: Carbon Steel 4-Cavity Perforated Nonstick Baguette Baking Pan
Budget pick
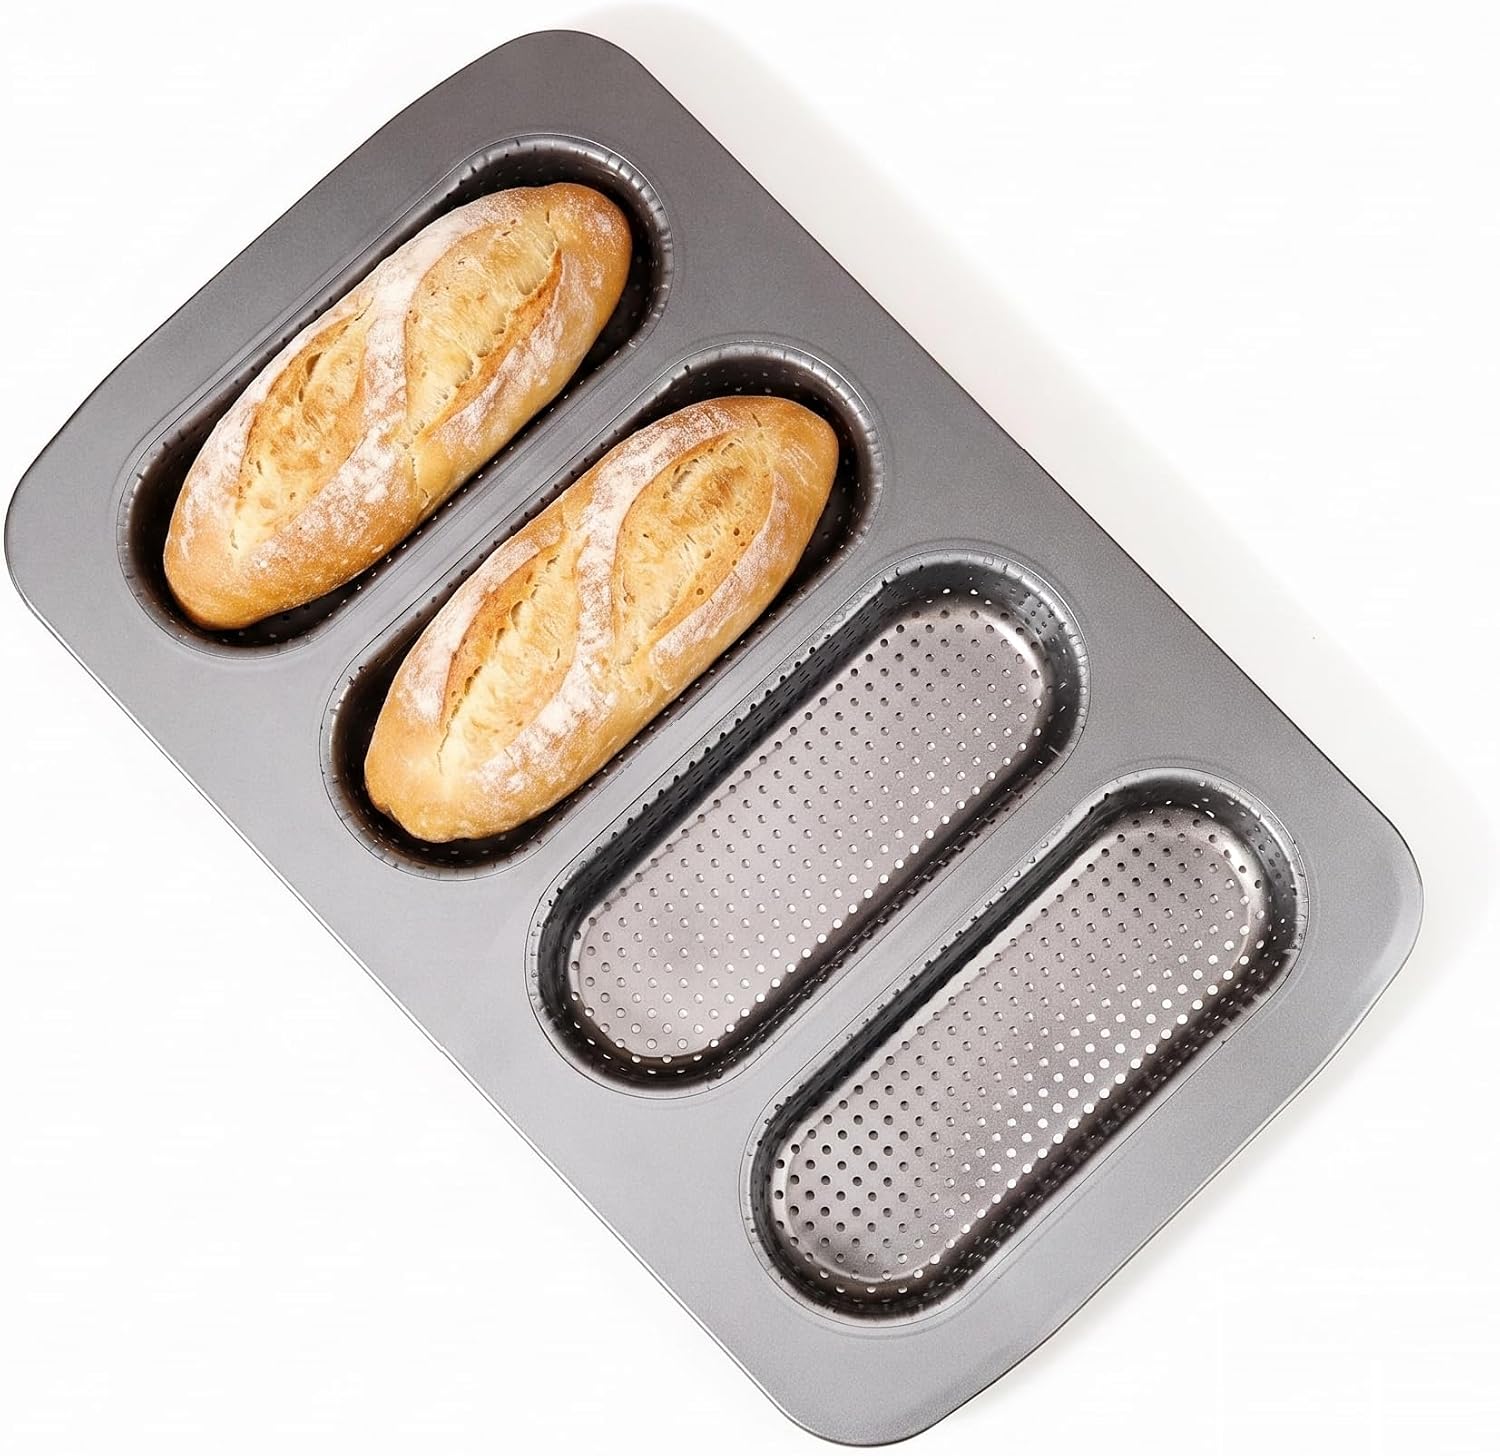
Carbon Steel 4-Cavity Perforated Nonstick Baguette Baking Pan
Check current Amazon price. This is the tray I would hand a beginner, with one caveat attached. Four cavities, a perforated base, and a non-stick coating over carbon steel. Four cavities is not a gimmick: it means four shorter baguettes, roughly a dinner roll stretched out, which suits a household that eats two loaves and freezes two. Short loaves fit a small oven without a fight, and they are easier to score cleanly while your shaping is still inconsistent.
The perforation does the same job it does on the stainless tray below. Steam escapes from underneath, so the base sets instead of going leathery. Carbon steel heats fast, which helps the first eight minutes, the window where french bread & baguette pans oven spring is decided. It also means the tray is hot the second it hits the rack, so load with confidence and stop fussing.
Flaws but not dealbreakers: Carbon steel moves. A thin carbon tray at 500°F will flex and ping, and that is normal, not broken. The non-stick coating is the real cost, because it will not last forever at baguette temperatures, and four narrow cavities are harder to line with parchment than a plain sheet. Wash it by hand, dry it on the stovetop for a minute, and do not stack anything on top of it.
If you are new to this and want the lowest-risk entry, this is the one. It is also the bluntest answer to french bread & baguette pans for beginners, and the natural pick for the best budget french bread & baguette pans slot, because the money goes into steel and coating rather than decoration.
Our pick: French Bread Baking Pan,3 Groove Perforated 430 Stainless Steel Baguettes Loaf Mould Waves Baking Tray,Silver,38.5 x 25 x 2 cm
Our pick
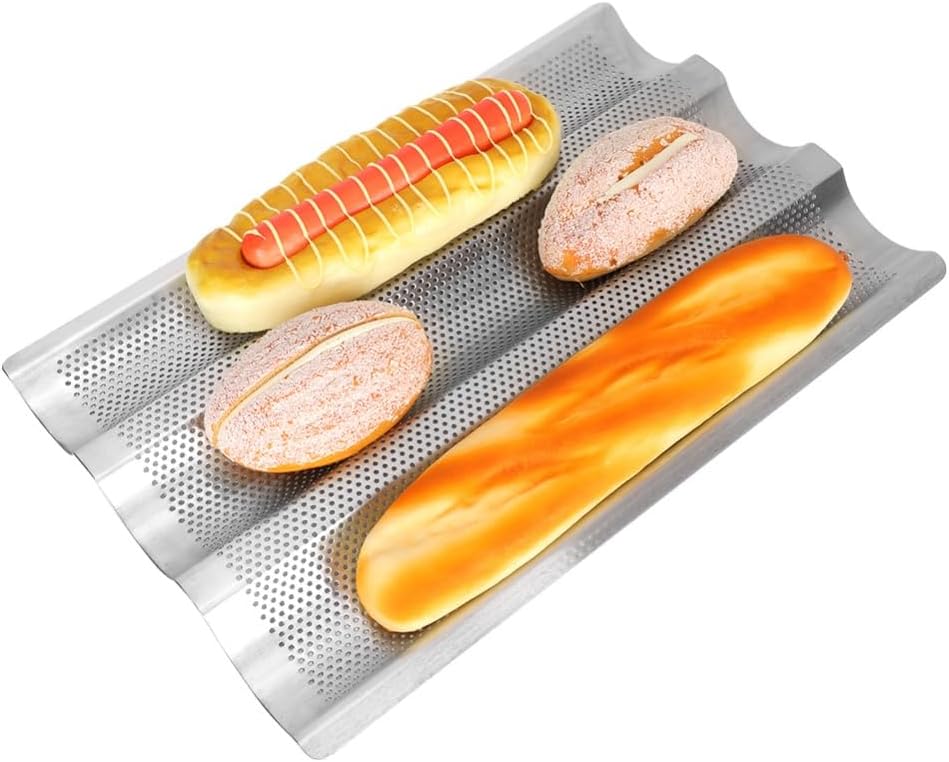
French Bread Baking Pan,3 Groove Perforated 430 Stainless Steel Baguettes Loaf Mould Waves Baking Tray,Silver,38.5 x 25 x 2 cm
Check current Amazon price. Bare 430 stainless, three grooves, perforated throughout, with a wavy profile that gives each groove a floor instead of a flat sheet with ridges pressed into it. The dimensions are the part that matters most: 38.5 cm of length is the right runway for a shaped baguette at 320 g, with room left for the dough to expand lengthways rather than climbing the wall. The 2 cm depth is shallow on purpose, and that is the trade-off you are buying.
Stainless has no coating to flake, no maximum temperature to respect, and no seasoning to maintain. You can preheat this empty at 500°F while the oven comes up, which is exactly what you want for the first eight minutes of a bake. A perforated stainless tray is the most honest expression of french bread & baguette pans steam baking: put a pan of ice cubes on the floor of the oven, load the dough into the grooves, and steam reaches the crust from both directions.
Flaws but not dealbreakers: With no non-stick surface you have to earn the release. Dust the grooves with rice flour and semolina, or cut parchment strips and accept the extra step. 430 stainless is ferritic, so it is magnetic and less corrosion-resistant than 304; leave it wet in the sink overnight and you will find rust freckles at the perforations by morning. Dry it on the rack while the oven is still warm. The 2 cm walls also mean a slack, overproofed piece will spill over the side rather than being held in.
This is the tray I would buy for myself. For anyone past their first ten loaves who wants a bottom crust and does not want to think about coating life, it is the pick.
Upgrade pick: Baguette Bread Pan, Nonstick French Bread Baking Pan 3 Loaf, Golden
Upgrade pick
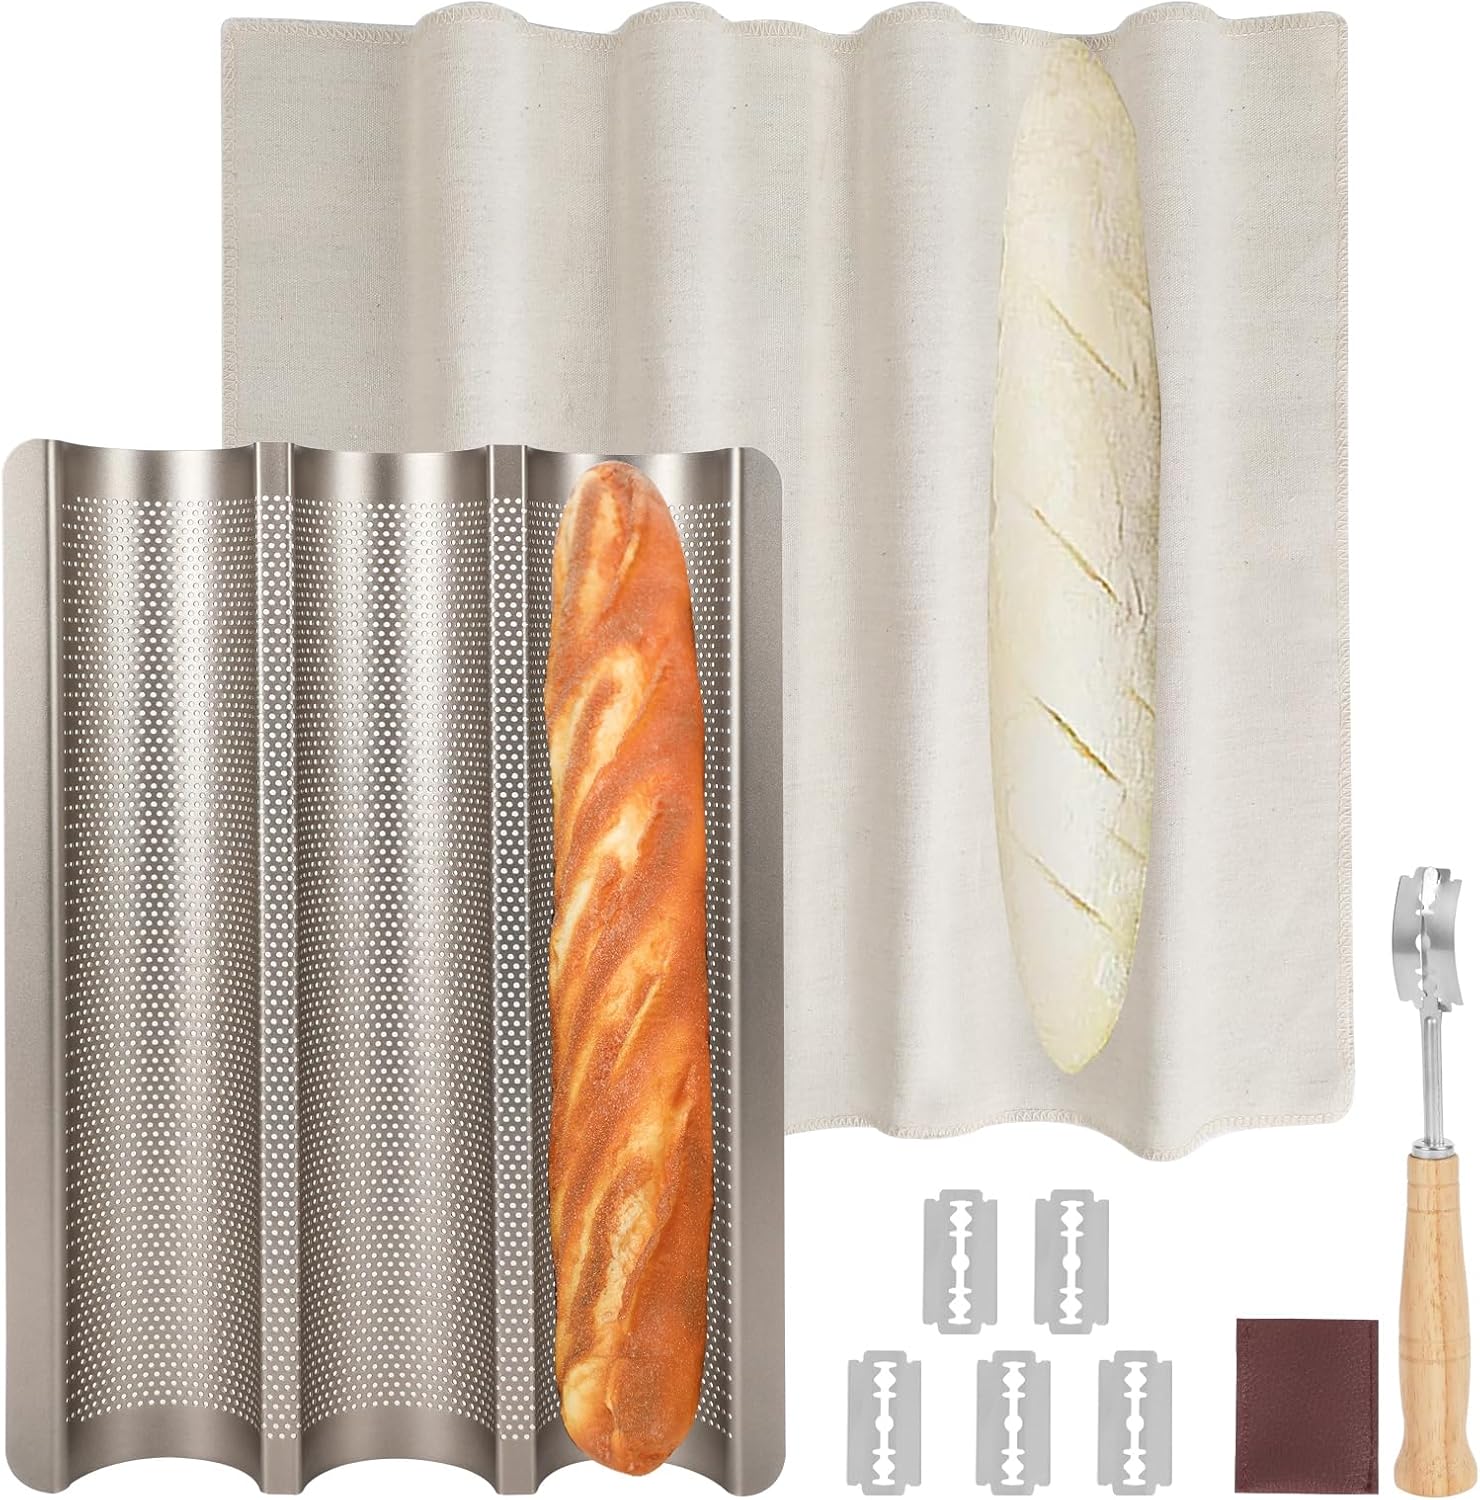
Baguette Bread Pan, Nonstick French Bread Baking Pan 3 Loaf, Golden
Check current Amazon price. Three loaves, non-stick, gold finish. The gold is not purely cosmetic: a darker, gold-toned coating absorbs heat faster than bare steel, which browns the base harder at a slightly lower oven setting. That is the trade you are making. You get the easiest release of the three and the least scrubbing, and in exchange you give up the top of the temperature range, because no non-stick coating enjoys being pushed past its rated limit bake after bake.
For a household that bakes once a week and hates soaking a tray, this is the sensible buy. Three full-size grooves means one bake covers the week of sandwiches, and the non-stick surface means a shaped dough turns out onto the cooling rack without a knife fight. Reviews on trays built this way repeat the same two notes: release is genuinely good for the first year, and the corners are where the coating goes first.
Flaws but not dealbreakers: The coating sets a ceiling on your oven temperature. If your method calls for 480°F for the first ten minutes, you are choosing to bake a little cooler and a little longer, and a cooler start costs you some of the french bread & baguette pans oven spring that bare stainless gives you for free. Never cut on it, never put it under the broiler, and do not nest anything inside it in the cupboard.
If your priority is a crust you do not have to fight for and a cleanup that takes thirty seconds, this is worth the step up. If you want to bake at 500°F with steam and no compromise, the stainless tray is the better tool.
How to set up french bread & baguette pans in eight steps
This is the order I actually use when I set up french bread & baguette pans, and the order matters more than the pan. Do it once with a dry run and the rest of the year takes care of itself.
Step one: Weigh the dough against the groove. Three grooves at 38 cm want three pieces at 300 to 330 g. A 1 kg batch divides into three at about 330 g each, which is the size these trays are built for. If your pieces are 400 g, the dough will climb the 2 cm wall and you lose the shape you spent twenty minutes building.
Step two: Clean the pan before the first bake. Every tray ships with machine oil on it, coated or not. Warm water, a drop of dish soap, a soft sponge, then dry it fully. On carbon steel, put it in a 300°F oven for ten minutes after towel-drying to drive off the last of the water. On non-stick, towel dry and stop there.
Step three: Do a dry fit in your oven. Put the empty tray on the middle rack, close the door, and check two things: that it sits level, and that you still have room for a steam pan below it. A 38.5 x 25 cm tray in a small apartment oven can crowd the element. If the rack flexes under the tray, move the rack lower, not the tray.
Step four: Decide where the dough proofs. You have two options. Proof in the grooves, covered, which saves handling but means the tray spends the night in the fridge and cannot preheat. Or proof on a floured couche and load cold dough into a preheated tray, which buys you a hotter start. For french bread & baguette pans no knead loaves and overnight cold retards, proofing in the grooves is the calmer choice.
Step five: Set up the steam before the dough comes out. Put a metal pan or a cast iron skillet on the floor of the oven and preheat it with the oven. Have a cup of ice cubes ready. Steam in the first ten minutes keeps the crust soft long enough for the loaf to expand; after that, steam works against you. Give the oven a full twenty minutes to recover after you open the door.
Step six: Shape to the groove, not to the picture. Roll each piece to about 30 to 33 cm, which leaves roughly 5 cm of runway at each end. Taper the ends properly and place seam-side down. If you proof in the tray, dust the grooves first with a 50/50 mix of rice flour and semolina, and use a linen couche or a shower cap rather than cling film, which sags onto the dough.
Step seven: Score, then load, then shut the door. One long score at a shallow angle, overlapping a second short score if the dough feels tight. Load the tray, throw the ice into the hot pan below, shut the door, and do not open it for twelve minutes. Every peek costs you steam and heat.
Step eight: Bake, release, and cool on a rack. Twelve minutes at high heat with steam, then drop the oven and give it another 18 to 22 minutes depending on the loaf. Lift each baguette out with a thin spatula or tongs onto a wire rack. If you leave them in the tray, the perforations cannot do their job and the base goes soft within ten minutes.
If you are still deciding between a tray and a stone, the baking steel versus stone comparison is the honest version of that argument. And if you bake in a Dutch oven most weeks, this whole setup is a weekend variation, not a replacement.
The competition and why it lost
A flat half-sheet with a parchment cradle is the cheapest baguette setup there is, and it works. It loses here because it gives you no wall: a slack dough spreads and the loaf ends up wider than it is tall. You also cannot proof in it without the parchment sliding around.
A silicone baguette mould loses on heat. It is fine at 425°F and it is the wrong tool at 480°F, and baguettes want to go in hot. It has no perforation and no thermal mass, so the bottom crust never sets with any snap.
A deep V-shaped trough pan, the kind sold for French bread, loses on depth. Deep walls hold the dough in place, but they also shade the flanks, so you get pale sides and a bottom that browns unevenly. If you already own one, use it, but shape smaller and expect to rotate the tray halfway through.
A covered loaf pan loses on shape. It is a fine tool for a pan loaf and it is not a baguette pan. Same for a bread cloche: the vessel does the work, and the shape it makes is a boule. The whole french bread & baguette pans bread crust argument comes down to two things, perforation and steam, and none of these four gives you both in the right shape.
None of them are bad equipment. They are the wrong tool for the specific job of holding a long, slack piece of dough still while heat and steam set the crust.
What this all costs
The three trays here sit in three tiers, and the tiers are about coating and material rather than size. The carbon steel four-cavity is the lowest-priced of the three, the bare stainless three-groove sits in the middle, and the gold non-stick three-loaf is the most expensive. Check current Amazon price on each before you decide.
Then budget for the small things the pan needs:
- Parchment or a linen couche if you go bare stainless, replaced every few months.
- Rice flour and semolina for dusting, one bag of each lasting about a year.
- A metal steam pan you probably already own, or a cheap cast iron skillet.
Over three years of two bakes a week, the cost per bake is small enough that the honest way to choose is by the crust, not by the tier. The top rated french bread & baguette pans on any given day are usually the ones with the longest review thread, not the best steel; a tray with a huge review count and a coating that fails at year two is still a tray with a coating that fails at year two.
Here is the short version. If you are a beginner and you want a pan that forgives a soft shape, buy the four-cavity carbon steel. If you want the best bottom crust and you will accept flouring a tray, buy the bare stainless. If you want release and easy cleanup and you are willing to bake ten degrees cooler, buy the gold non-stick.
All three do the same job: they hold a long piece of dough still while heat and steam turn it into bread. Set the pan up properly, and it stops being part of the process.